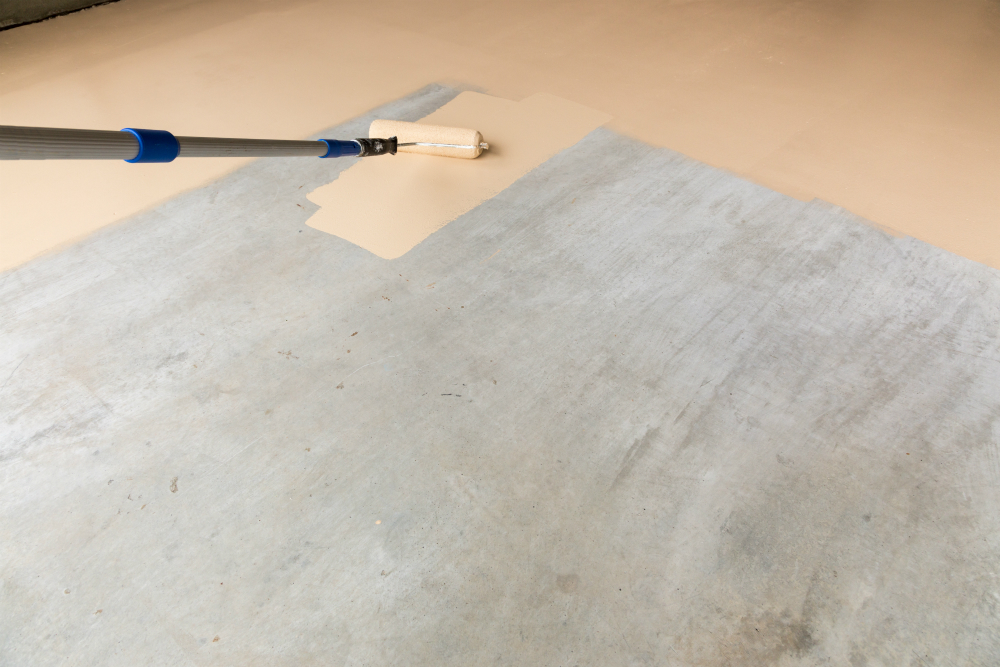
While it?s difficult to find a flooring system that performs better than resin, it isn?t always an attractive installation option. The process has many different steps involved, and for some people, it?s better to choose an epoxy floor paint coating.
And when it comes to upgrading your garage?s flooring system, many find that an epoxy floor paint offers ample protection. Although it doesn?t last or defend as well as total epoxy surfaces, it still prevents more blemishes from occurring longer.
Handy homeowners may decide to turn their garage floor painting into a Do It Yourself job, as it rolls on. However, for better results for your new garage flooring, it?s best to leave it to the professionals at Dallas Epoxy Pros.
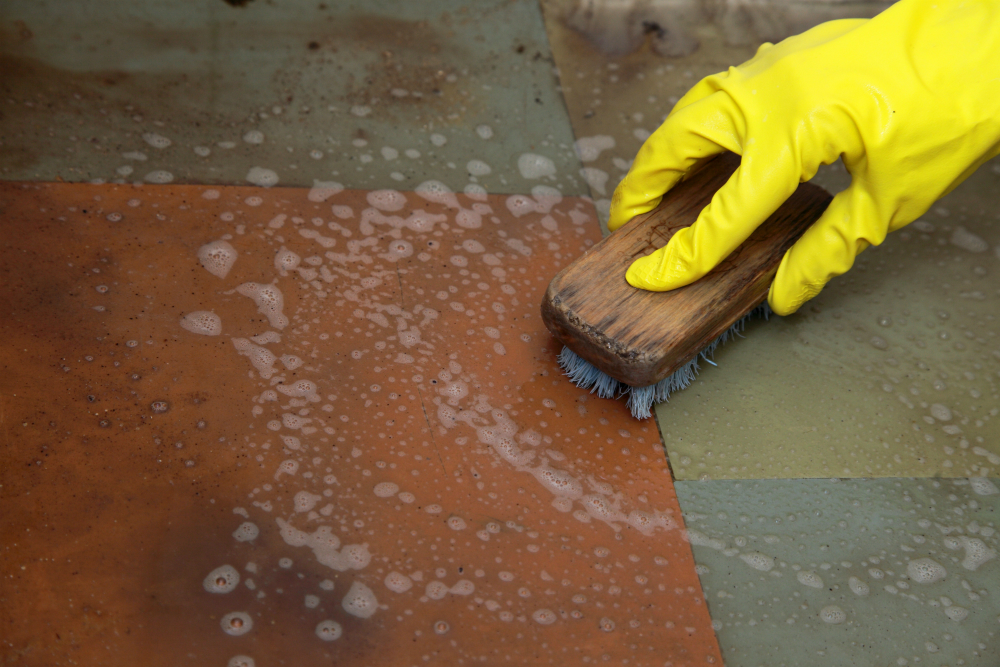
If you do want to attempt this installation alone, here are some useful hints that make your project finish better. You would feel amazed to know how much of an improvement you can achieve just from washing surfaces efficiently alone.
Prepare Your Garage for Epoxy Floor Paint
The preparation phase of your flooring job requires that the surface remains in good working condition and free from stains. Otherwise, your epoxy product will find it nearly impossible to adhere, leaving you with structural concerns forming before too long.
Identify any cement areas already harmed and see if you can complete their repairs before rolling the epoxy paint across. Filling any concrete cracks now will make it easier to leave it smooth and even for the final product application.
Now is also the best time to notice whether or not your existing surface produces moisture, which could ruin resin. Find any areas where you have white powdery debris, as this is evidence of water wicking through the limestone layers.
Do not rush preparation, even if you find yourself cleaning stains multiple times, or treating damaged areas or cracks repeatedly. It is better to begin with a perfect surface rather than try and make a dirty one work with adhesives.
Scrub the Floors
No, your cleaning hasn?t finished just because you put the wire brush and soap away and scrubbing the floors helps. We recommend using a power scrubbing machine that will draw out more impurities than sweeping or washing alone could remove.
Use the scrubbing machine to slowly work each line through the garage, which should take about half of an hour. Next, follow up with a wet-dry vacuum and remove the excess water, as there should not be any pooling liquid.
Because the acid mixture will get applied next, you don?t want any lingering water which could negate its overall effectiveness. You will already be diluting the product, so any additional liquid left behind will only eat into its strength level.
If you can?t remove any more moisture from the surface with a vacuum, you may have to use a squeegee. Push any standing water out of the garage before moving on to the etching phase, which opens up cement pores.
Etch the Surface
You might want to go ahead and rinse down your driveways, as well as any hard surfaces surrounding the garage. Once the etching agents get put into place, you?ll want to make it simple to rinse as quickly as possible.
Mix a batch of diluted muriatic acid, preferably at a 10:1 ratio, adding water to chemicals and not the reverse. Otherwise, you could cause an unexpected reaction, as well as develop unexpected toxic fumes that could cause severe health risks.
Install the rinsed brush attachment onto the power floor scrubber, and carefully flush the remaining acid away without causing splashing. Spend at least ten minutes cleaning the acid off, so that the site stays safe for the epoxy product application.
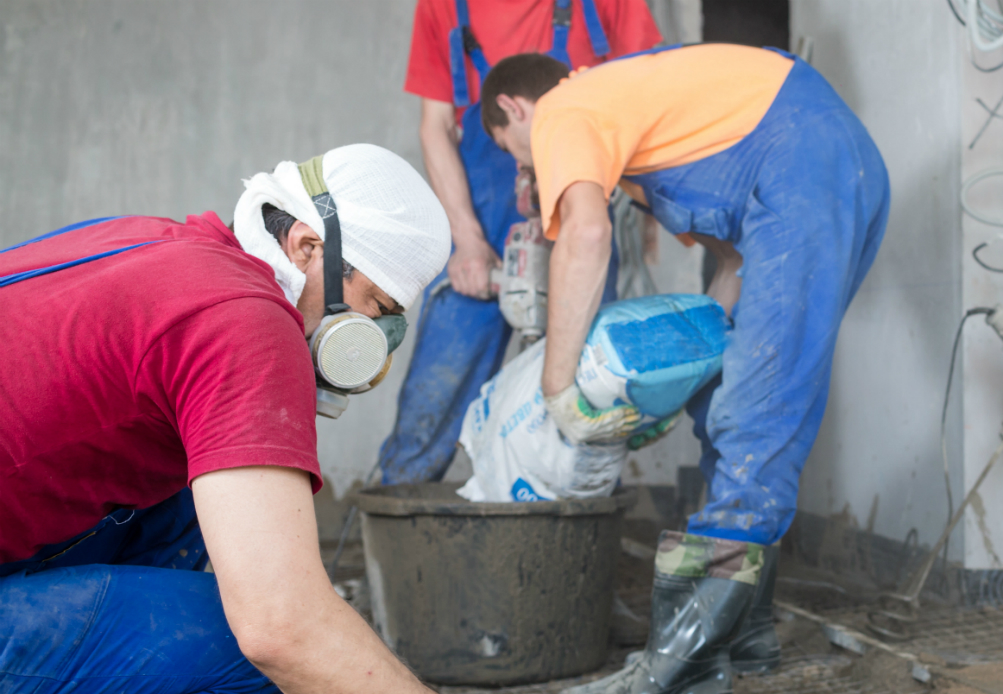
It can?t get overstated enough how crucial it is that you wear the right respirator to keep yourself from fumes. Breathing it in can cause lasting damage to your skin, eyes, and even your lungs, making acid etching dangerous work.
Alternate Scrubbing & Etching
Once the initial acid etching phase has ended, you will need the floor to drive overnight before finishing your preparations. The next step is to continue alternating between more diluted muriatic acid and using the power scrubber for safe rinsing.
Do yourself a favor and ensure that you rinse off the floor before pushing the machinery through to avoid damage. Otherwise, you could wind up slinging acid throughout the room, as well as onto your skin, hair, and your clothing.
Rather than treating the entire floor again, as you did the day before, now you want to focus on sections. Restrict your etching and scrubbing to 10-foot by 10-foot sections so that you efficiently remove as much debris as possible.
Finally, once you have completed the full acid etching and cleaning, you?ll want to rinse away the remaining residue thoroughly. If your mixture got diluted correctly, it should drain through your curb?s plumbing pipes without worrying about any undesired effects.
Choose Your Product
You have several different epoxy paint products to select from, and each one has its pros and cons to consider. At this step, you will want to carefully analyze your costs and benefits before going for an expensive product purchase.
Epoxy paints that use 100% solids remains a more viscous paint to use, which means it?s harder to spread evenly. Because these paints do pose such a challenge during installation, it?s usually the professionals who buy it for expert results.
40-60% solid epoxy proves easier to roll on than full resin, but it still creates intense chemical fumes during installation. Water-based paint, on the other hand, is much safer to use with fewer odors and thinner body for faster applications.
No matter which paint product that you prefer to use, make sure that you create a second layer as well. Otherwise, your new system will only wear out sooner than you thought, leading to lots of issues faster than anticipated.
As you can see, even epoxy painting remains an involved procedure. Give your home the best installation with the pros at Dallas Epoxy Flooring.


Recent Comments