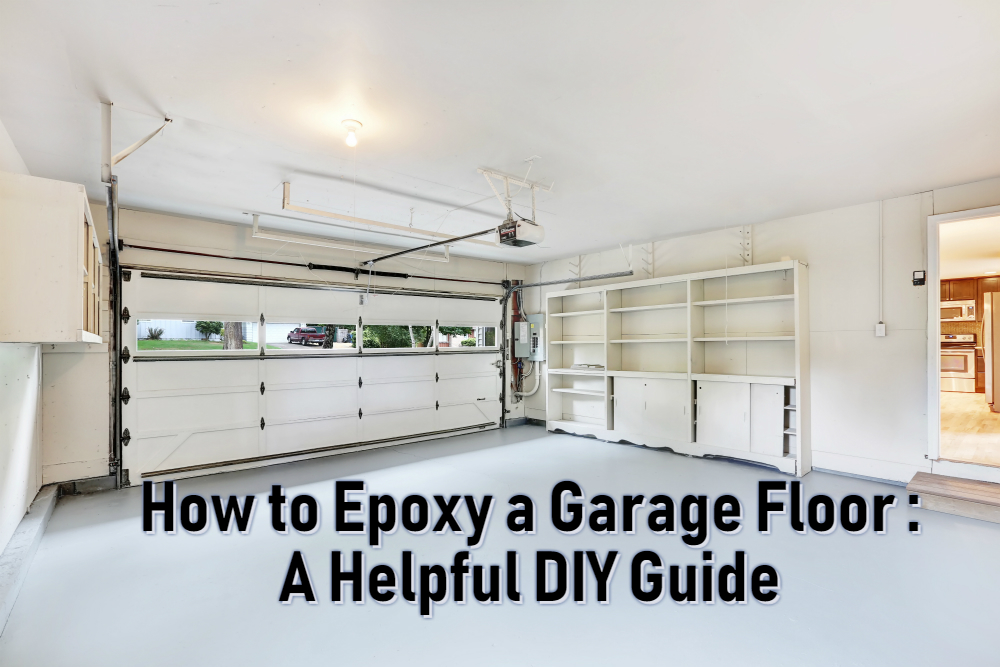
Have you ever wondered how to epoxy a garage floor?
More Dallas, TX homeowners have begun turning to epoxy floors for their preferred building materials, and the process remains straightforward. However, unless you know how to epoxy a garage floor, it can quickly fail, leaving you with an expensive mess.
Epoxy garage flooring isn?t the most challenging project to complete, but it certainly does have its application challenges to overcome. One of the top tips to keep in mind is that you must remain patient, even with fast-drying building materials.
And while garage epoxy flooring remains an affordable home upgrade, there are lots of tools and equipment required to work. Your installation is likely not one that you can take short cuts on, and you want to see professional results.
Of course, the guaranteed way of seeing successful results and better quality is by hiring us at Dallas Epoxy Pros. Following these tips, thankfully, can make your Do It Yourself project run smoother, and you?ll enjoy your floor for years.
Below, you will find the steps on how to epoxy a garage floor.

Prepare the Surface of Your Garage Floor
Believe it or not, the preparation stage remains the most crucial for achieving the results you want to see form. Before you do anything, you must find and correct any damages, cracks, or gaps in the cement for better adhesion.
Next, locate and eliminate any remaining grease stains, oil spots, and other blemishes caused by mechanical fluids or automotive chemicals. Ignoring these items will not only make it harder for the epoxy to settle, but the stains burn through also.
If you do need to fill in any damaged areas or surface cracking, make sure that your adhesives dry entirely. The following steps require lots of water, which could wash away your repairs and patches without you even realizing it.
Finally, observe the area for potentially too high of moisture levels, which will prevent your new epoxy from curing correctly. One way to look for moisture is by taping a rag to the ground and seeing if the surface sweats.
Profile the Floors
Once the ground has been cleaned, repaired, and dried, it?s time to start profiling the floors before adding the products. Profiling, or roughing the surface up, ensures that epoxy fully adheres, especially since most garages get smoothed out with trowels.
There are three primary ways of profiling the floors, by using diamond floor grinding pads, a shot blaster, or acid. Each has a learning curve, and you may find one simpler to use, but all should achieve the same results.
A diamond floor pad physically roughs the surface much like a car buffer would, and different grits can get used. A shot blaster, on the other hand, works similarly like a power sandblaster, only it uses small BBs instead.
Acid etching requires the use of a diluted muriatic mixture that will open the surface pores, creating an ideal worksite. While using acid isn?t difficult, it remains dangerous, especially if it touches bare skin or if you don?t wear respirators.
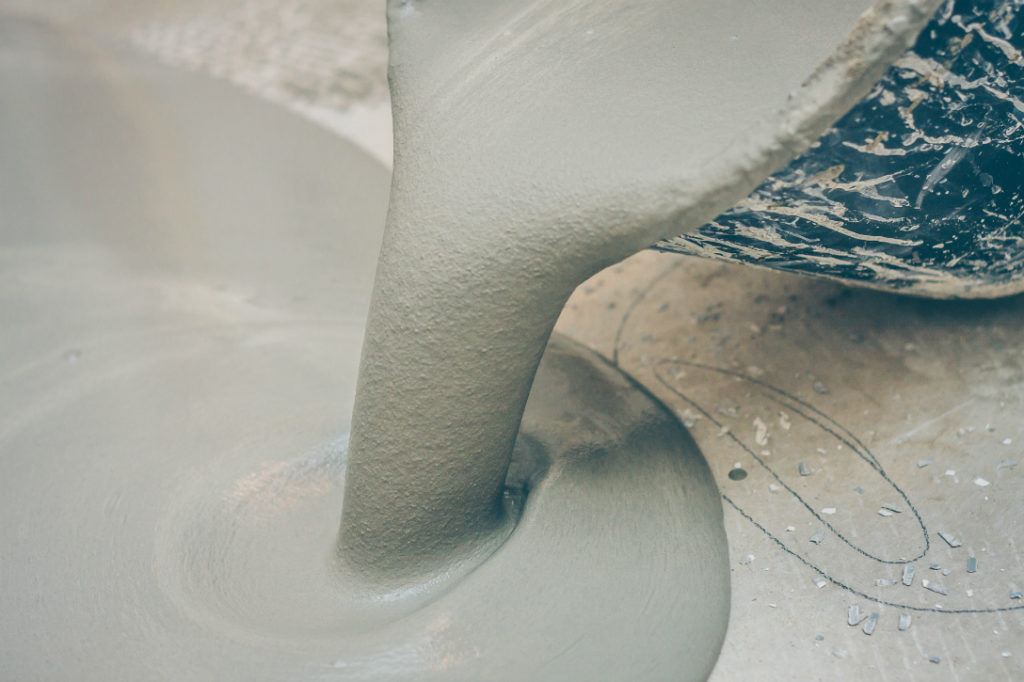
Mix the Product
Now that the garage floor is repaired, cleaned, and profiled, it?s time to mix the product with the hardening agent. The two halves of the kit will combine and create a chemical reaction, which gives epoxy its durable finished texture.
You will want to use a 5-gallon bucket, a hand drill, and a mixing attachment to stir the products together. If the products seem to have separated within their packaging, it?s best to blend them separately first before combining them.
When you?re ready to combine the two, pour the hardening agent in first, as it?s less dense than the resin. If you purchased 100% solids epoxy, you must begin using it immediately as it has a shorter pot life span.
The thicker the product, the more likely you will need to back roll it on as it creates its build. Work your way from the back, pouring out a thin ribbon, and making your way to the front while smoothing.
The Second Coat of Epoxy
Once the primary layer has dried, you might think that it?s a job done well enough to walk away now. However, regardless of other factors, it remains recommended that you always add a secondary protective coat for extended life spans.
The second coat may not always use the same product as the first, especially if you intend to use additives. Color chips should get added into the first layer, while non-slip additives should get included in the second coat instead.
It is more important that the second layer gets as much attention as it may need before it hardens permanently. Otherwise, any imperfections stay in place, and they could cause structural concerns due to cracks, chips, and other common blemishes.
The best thing you have going while putting on the new layer is that less product gets absorbed into concrete. Because it gets rolled directly onto another resin surface, the results should appear more consistent than the first one did.
Allow Proper Curing for the Garage Floor
When using any sort of poured surface materials, letting the product to cure complete ensures the best lasting results possible. Otherwise, you?re putting too much strain on a system that still feels tacky, allowing it to sink, smudge, and scratch.
Once any layer of epoxy has gotten in place, you will want to walk away for at least 10 hours. If possible, allow the product to dry for a full 24-hours, or at least overnight to avoid unnecessary floor damages.
The entire curing process will likely require a full month, but you should be able to walk across it lightly. Avoid parking any vehicles on the new epoxy system, as the car?s weight will certainly ruin your hard work quickly.
It?s better to try and patch any mistakes before the resin has an opportunity to harden, so fix while installing. Otherwise, you may have to completely remove one or both layers and try to install the floor all over again.
There are many steps, and not everyone can find the right tools. Make your job simple by calling Dallas Epoxy Pros. Your ‘honey-do’ list just got a whole lot shorter!
Recent Comments